Overview
This guide assumes a specific SGTM configuration. If your setup differs from the example provided, contact support@symbiosys.ai for assistance with event logging. The assumed configuration is detailed below.
Instructions
This guide assumes a frontend with a web container tag of type "Google Tag" that sends data to a GTM server container. The server container has a client of type "Google Analytics: GA4" installed. It also applies to setups with or without a server-side tag forwarding events to Google Analytics or another event server. The guide is compatible with frontends using either GTM or gtag.js.
If your setup does not have these components already (or the gtag.js installed), contact support@symbiosys.ai.
Set up attribution fields
To ensure proper attribution, we need to link visits to orders using custom fields as outlined below.
1. Product ID field
In Google Analytics, set up a custom field for the current product ID, named “product_id.” The method is client-specific; for example, you could use custom JavaScript in GA4 to extract the product ID from the URL.
2. CRM User ID field
We use several user identifiers for attribution, most provided by Google Analytics. However, please include the CRM User ID for logged-in users in every event, using the field name “user_id.”
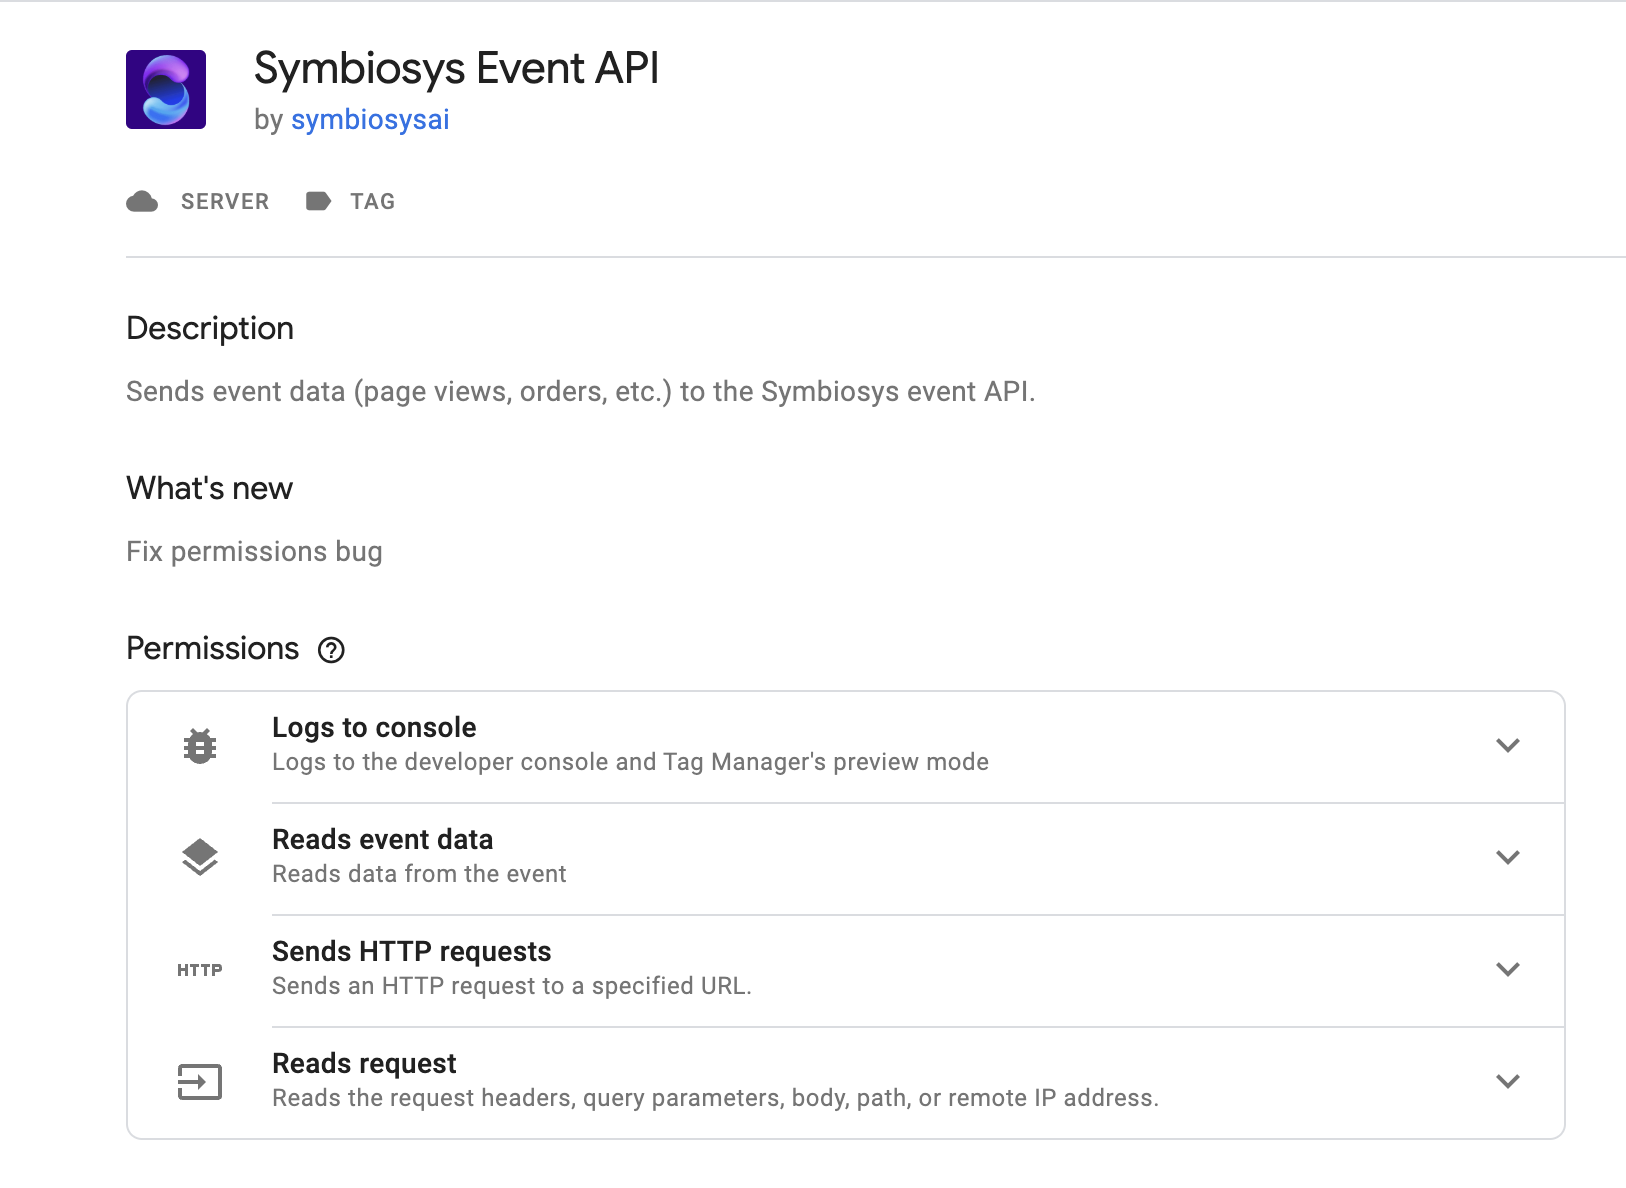
Tag Installation
All changes should be made in Google Tag Manager. Ensure that the Tag Manager account you are working inside has a Container Type of “Server“, not “Web“.
-
In Tag Manager, go to Overview > New Tag > Tag Configuration > Community Template Gallery.
-
Search “Symbiosys Event API“.
-
Select the Symbiosys Event API tag and add it to your workspace.
-
Select the tag.
-
Enter your Symbiosys-provided API key.
-
Ensure that you are using the correct key per the environment (dev or prod).
-
-
Click the Triggering tile
-
Select All Pages and click Add.
-
Save changes.
Validation
Validate that the correct data is being sent. After completing the integration, contact your Symbiosys Sales Engineer for data validation checks.